Freitag, 30. November 2012

Tutorial: Chinese Inspired Headpiece

 The last dance I created was a chinese inspired ribbon dance -  I made it for a dance show of my dear friend and colleague Claudina; she just launched her fabulous veil dance instuctional DVD (view the trailer here!) and so I decided to do something that could match the program.
So the dance and the costume were more or less ready, and I wanted to add some more 'bling' to the quite simple dress. I did some research how to make the base for the headpiece; it has to look somehow like this:

So cut out the plastic base and bond it together with masking tape. Sometimes you can even use a tennis cap turned upside down. As you will cover it with fabric later it doesn't matter if the masking tape is visible.
After that cut the fabric generously in the shape of the base and glue it on the surface. Then fold the fabric along the edges and glue the overlap on the back side. Keep the fabric in place with pins and let dry.
Now the most tricky part is done and you just have to glue or stitch the decoration on the base. The pieces dangeling from the temples are made of earrings with some red tassels. The golden lace balls are a part of christmas decoration. I made Kanzashi flowers with fabric scarps from the costume and added also some fabric orchids and severy jewellery pieces. I can only recommend the Kanzashi flower makers from Clover. They are cheap and so easy to use, you can't go wrong! Fabric yoyos are also very easy to make and look gorgeous in the ensemble.
A broad elastic strap holds the crown on the head. If you do backbends make sure that you secure it additionally with bobby pins.

Donnerstag, 29. November 2012

Qawwali caps in action :-)

I am so proud!
They look fabulous, huh?
Check the tutorial in my last post if you'd like to create a similar cap for yourself.
Backstage from the Show "From Madhubala to Madhuri" with Srijan Bollywood Company.


Picture Credit: Jaqueline Frick

Mittwoch, 7. November 2012

Dreams of Orange and Purple: Orange-Black Currant-Ginger Jam

 In August the garden is full of fruits and vegetables, besides there are so many other things to to, so when it is possible I just freeze a part of the crop and leave the preserves for later.
With this grey and foggy november weather I yearn for some colours and tried a new combination: black currant, orange and fresh ginger preserve.
You need:
1 kg black currant
1 kg Orange slices
1 kg 1:1 gelling sugar
5 cm of fresh ginger root

Mix fruits and sugar. Add raped ginger. Boil. Fill into jars.
This preserve is not very sweet and goes wonderfully with cheese or meat.


Dienstag, 6. November 2012

Tutorial: Qawwali Cap

Ready to go - here are the six Qawwali Dance Caps for my dear friends from the Indo-German Dance Duo Srijan. It was not easy to create those caps from the scratch, so I will show you now the most important steps so that you can avoid the mistakes I made on the way!
First we had to choose a model for the cap.
The Qawwali cap for women is modelled on the shape of the taqiyah cap for men - a traditional (prayer) cap worn by observant muslims. There are different shapes with different names all over the muslim world, but they are variations of the small short rounded prototype.
We chose a model with an oval base and two points, with an ostrich feather.  

So the most tricky thing was to find the exact basic shap. Since the center is oval i cannot give you any directions how to calculate the exact pattern. And probably it is more simple if you measure the circumference of your head ar the point you want to wear the capwith a paper strip and then to try to draw an oval shape that has the circumference of the same length like the strip.


I had to throw away the first set of ovals because I just drew them from my imagination and the caps were then way to small!
The second batch worked quite well.
Now you have the base.
You can line it and glue some other fabric remnant on the wrong side. Or you just leave it unlined, that depends on the fabric and on how stiff you want the cap to be (you can stiffen it later, too).

Then comes the most funny part: decorating!!
Grasp everything shiny and glittering you find in your stash or in the dollar store.
Earrings, feathers, ribbons. Exspecially around christmas you can find great metallic ribbons for almost no money.
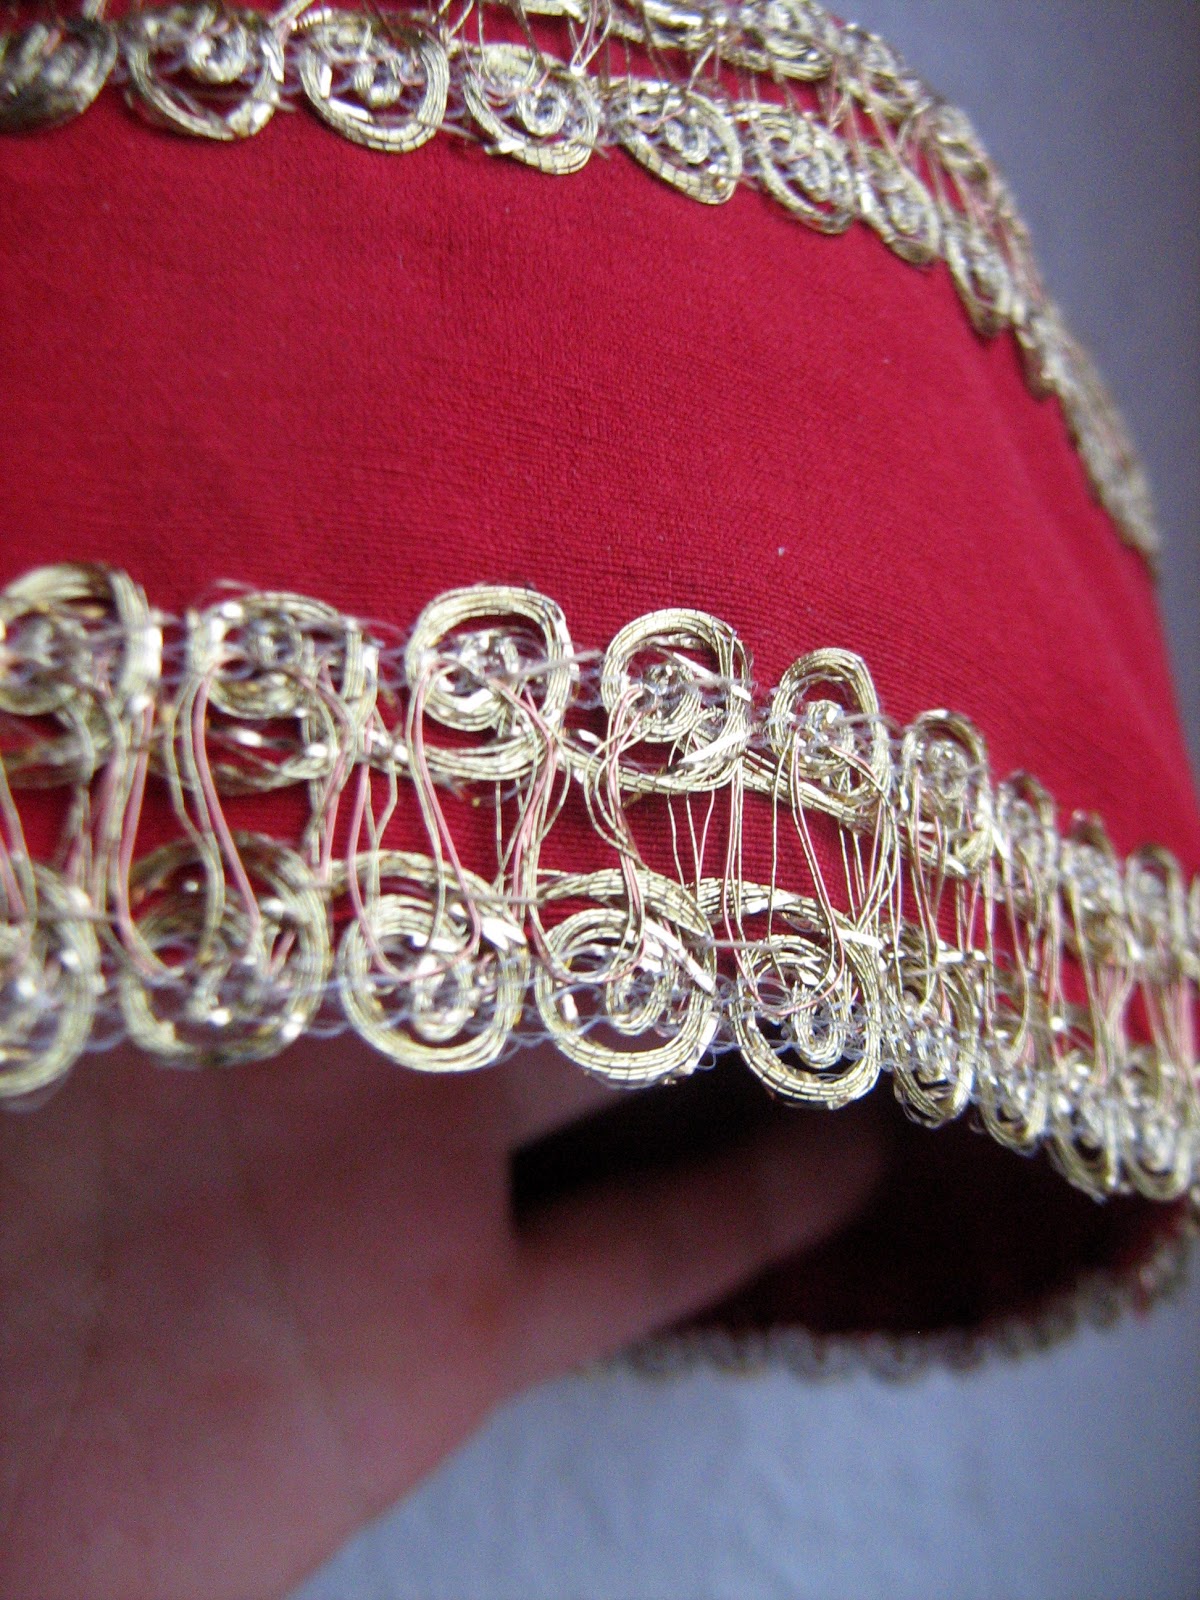
Add hotfix stones (not in the picture) and GLUE!

 I couldn't glue the metallic trim, so I had to sew it, but glueing will save you a lot of time.
Then the feathers: Unite a youple of them to a bunch and fix it with maskin tape. Make now a small pocket of the same tape, but inverse in order to insert the featers here. Hide the pocket behind a "jewel". You can also glue the feathers here right away, but I wanted them to be detachable. You never know how you will transport your cap, and after a performance maybe you just want to toss it into your suitcase. 

 Now add all the other decorations you want. Nip off superfluous rings from the metal pieces.
And glue!
For the final shape of the cap use some cheap, sticky hair spray. Spray abundantly on the inside of the cap  and while wet, mould it into the right shape.
Finally add a thin elstic strap to secure the cap on your head, eventually use also some bobby pins.
Done!!